Most project types contain editors that you can use to build your website, story, presentation, or wiki. The features that are available are determined by the project type.
To use the editors on a desktop:
Click on the desired element and drag it to the page. This may
be text, images, a video or a divider.
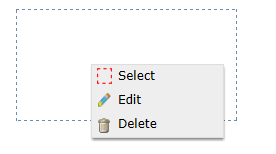
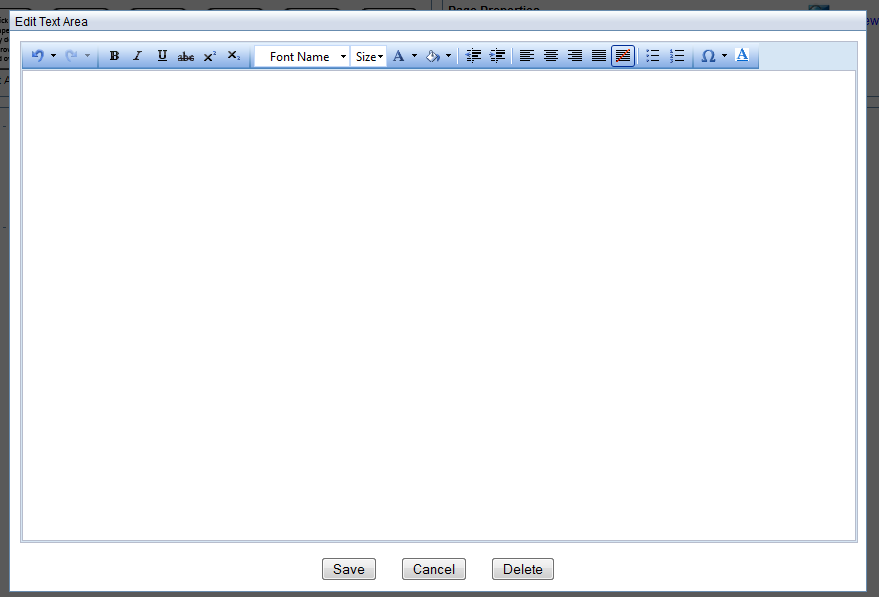
Right click on the element to edit it. If, for example
you are adding text, drag the text element to the location on the
page where you would like the text to display. A Rich Text Editor
will appear similar to the one used when creating an essay. Use the
features within the editor to bold, italicize, underline, change the
color, and/or the size of the text.
Drag the image to move it to a different location on the page.
For more precise movement, right click on the element, click on Select and use the arrow keys on
your keyboard to move it to the right, left, up or down on the page.
To remove an element, right click on the element and select the Delete option. This will permanently delete the element and any associated text, image, or video.
Editor Options

Desktop Editing Options

Tablet Editing Options

To upload an image, video, or audio file:
Click on the link to upload a video, audio, or image file.
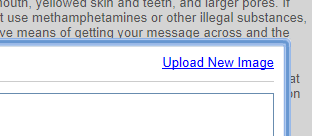
When the file selector dialog appears, click on the Upload New
Image/Video/Audio link located in the upper right corner of the dialog
box.

Click on Select to navigate
the location where the file resides on your computer. If you are on
a tablet device you will be directed to the Photos application to
select an existing photo or to create a new one.
Click on the Upload button
and wait for the file to upload before continuing.
Follow steps 1-4 for all files you wish to upload for the project.
Click on the Existing Image/Video/Audio
link in the upper right corner of the dialog to select an the file.
A list of files you've uploaded for the current and past projects
will display.
Select the appropriate file and click on Ok.